顯示具有 03160791_張家豪 標籤的文章。 顯示所有文章

2017年4月4日 星期二

Week06 實做加影片

1. 案住Trigger後可產生多個方塊

程式碼 : 

成果 :


2. 抓取物體

程式碼 : 


成果 : 


3. 光劍

程式碼 : 


成果 :


4. HitBottleVR 丟瓶子

程式碼 : 

using System.Collections;
using System.Collections.Generic;
using UnityEngine;

[RequireComponent(typeof(SteamVR_TrackedObject))]
public class ThrowObjectResetBottle : MonoBehaviour {

SteamVR_TrackedObject trackedObj;
SteamVR_Controller.Device device;
public float speedUp=3.0f;

// 將來代入兩個prefab
public GameObject Ball,Bottle;

// 記錄BottleFall 程式的參考變數
BottleFall bottleFallScript;

// 記錄目前產生的球的參考變數
GameObject ball;

        void Awake () 
       {
                 trackedObj = GetComponent<SteamVR_TrackedObject> ();
                 // 目前沒有產生的球
                 ball = null;
                //先找到BottleStand物件, 再找到BottleFall.cs程式,並記錄下來
                bottleFallScript = GameObject.Find ("BottleStand").GetComponent<BottleFall>();

       }

       void FixedUpdate () 
      {
               device = SteamVR_Controller.Input ((int)trackedObj.index);
               if (device.GetTouchUp (SteamVR_Controller.ButtonMask.Grip))
              {
                         if (ball == null) 
                        {
                                   // 目前沒有球,就產生一顆
                                   ball = GameObject.Instantiate (Ball);

                                   // 固定住, 不受重力與物理引擎的作用
                                   ball.GetComponent<Rigidbody> ().isKinematic = true;

                                  // 移動至想要的位置
                                   ball.transform.position = new Vector3 (0.5f, 1f, 0f);
                        }

                       if (! bottleFallScript.bottleOnTable) 
                      {

                                // 如果桌上沒瓶子有,就產生一個
                               GameObject bottle = GameObject.Instantiate (Bottle);

                               // 找到桌子的位置
                               Vector3 tablePos = GameObject.Find ("Table").transform.position;

                               // 將瓶子放在上方 0.8個單位的地
                               bottle.transform.position = new Vector3 (0f, 0.8f, 0f) + tablePos;

                              // 設定 bottleOnTable 設定為真
                              bottleFallScript.bottleOnTable = true;
                     }
           }

     }

    void OnTriggerStay(Collider col) 
     {
             Debug.Log ("碰到");
             if (device.GetTouchDown(SteamVR_Controller.ButtonMask.Trigger))
            { 
                          Debug.Log ("抓起");

                         // 將 physics(物理引擎) 關掉
                         col.attachedRigidbody.isKinematic = true;

                        // 設定controller為parent
                        col.gameObject.transform.SetParent(gameObject.transform);
             }

            if (device.GetTouchUp (SteamVR_Controller.ButtonMask.Trigger)) 
           {
                       Debug.Log ("放開");

                     // 將球的parent設定為空的,解除父子關係
                     col.gameObject.transform.SetParent (null);

                    // 讓球受物理引擎(重力)影響
                    col.attachedRigidbody.isKinematic = false;

                   // 將球設定 3秒鐘之後自動銷毀
                   GameObject.Destroy (col.gameObject, 3f);

                  // 設定目前沒有可丟的球
                   ball = null;

                  // 找到HUD物件,在Ranking.cs程式中,記錄丟球個數增加 1
                  GameObject.Find ("HUD").GetComponent<Ranking> ().tossInc ();

                 // 將球丟出去
                 tossObject (col.attachedRigidbody);
         }

     }

       void tossObject(Rigidbody rigidBody)   
      {
                  // 球繼承controller的速度與轉速
                  rigidBody.velocity=device.velocity*speedUp;
                  rigidBody.angularVelocity=device.angularVelocity;
      }


}

成果 : 

2017年3月28日 星期二

Week05 投影片教學

蕭立人老師教材 :
https://drive.google.com/drive/folders/0B3U4TWW5it5nQkRUaWV1dTdXenM?usp=sharing

主要教學如何將一般unity檔案可結合Vive使用。

1. Seasaw 蹺蹺板

程式碼:

using UnityEngine;
using System.Collections;

public class ReverionScript : MonoBehaviour {
GameObject personA,personB;
Rigidbody rigidA,rigidB;
float heavyWeight=20.0f; // 要往下掉的角色,較重的質量
float lightWeight=1f; // 要往上昇的角色,較輕的質量
// Use this for initialization
void Start () {
// 以 Tag 找到 Person A 與 Person B 兩個物件並記錄下來
personA = GameObject.FindGameObjectWithTag ("Person A");
personB = GameObject.FindGameObjectWithTag ("Person B");
rigidA = personA.GetComponent<Rigidbody> ();
rigidB = personB.GetComponent<Rigidbody> ();
}

void OnTriggerEnter(Collider other)
{
// 碰撞到時觸發的擯制程式
if (other.tag=="Person A"){
// 目前落地的是 Person A,質量改小
rigidA.mass=lightWeight;
// 對方是 Person B,質量改大
rigidB.mass=heavyWeight;
}
else if (other.tag=="Person B"){
//  目前落地的是 Person B,質量改小
rigidB.mass=lightWeight;
// 對方是 Person A,質量改大
rigidA.mass=heavyWeight;
}
}

}

成果:

2.Compass 指北針

程式碼1: 指南針移動

using UnityEngine;
using System.Collections;

public class CompassMoving : MonoBehaviour {

       void Update () 
      {
              // 鍵盤的水平移動用來控制碟盤旋轉
              float theda=Input.GetAxis("Horizontal");
              transform.Rotate(0.0f,theda,0.0f);
              Debug.Log (transform.forward);
              // 鍵盤的重直移動用來控制碟盤前進與後退
              Vector3 forewd=transform.forward;
              float dz=Input.GetAxis ("Vertical");
              Debug.Log (transform.forward*dz);
              transform.position = transform.position+transform.forward * dz;
       }

}

程式碼2: 攝影機跟隨指南針移動

using UnityEngine;
using System.Collections;

public class FollowingCamera : MonoBehaviour {
// 須將compass套進來,才知道目標

public GameObject target;

      // Use this for initialization

        void Start () 
       {
       }

       // Update is called once per frame
       void Update ()
      {
               // 跟隨指南針的 Camera
               Vector3 pos = target.transform.position-target.transform.forward*2.0f;
               pos.y+=3.0f;
               transform.position=pos;
               transform.LookAt (target.transform.position);
       }

}

程式碼3: 指針方位不變

using UnityEngine;
using System.Collections;

public class PinRotation : MonoBehaviour {

        void Update () 
       {
                // 取得parent的旋轉角度
                float parentAngle=transform.parent.transform.rotation.eulerAngles.y;

               // 與parent反方向旋轉
               transform.localRotation = Quaternion.Euler (0, -parentAngle, 0);
       }
} 

成果:


3. Toss 拿取丟擲

using System.Collections;
using System.Collections.Generic;
using UnityEngine;

// 宣告程式需要的 SteamVR_TrackedObject Component
[RequireComponent(typeof(SteamVR_TrackedObject))]

public class ThrowObject3 : MonoBehaviour {

SteamVR_TrackedObject trackedObj;
SteamVR_Controller.Device device;

          void Awake ()
          {
                   trackedObj = GetComponent<SteamVR_TrackedObject> ();
          }

          void FixedUpdate () 
          {
                   device = SteamVR_Controller.Input ((int)trackedObj.index);
          }

           void OnTriggerStay(Collider col) 
         {
                  Debug.Log ("碰到");
                  if (device.GetTouchDown(SteamVR_Controller.ButtonMask.Trigger))
                 {
                              Debug.Log ("抓起");
                              // 將 physics(物理引擎) 關掉
                              col.attachedRigidbody.isKinematic = true;
                              // 設定controller為parent
                              col.gameObject.transform.SetParent(gameObject.transform);
                  }

                  if (device.GetTouchUp (SteamVR_Controller.ButtonMask.Trigger))
                  {
                              Debug.Log ("放開");
                              col.gameObject.transform.SetParent (null);
                              col.attachedRigidbody.isKinematic = false;
                              tossObject (col.attachedRigidbody);
                 }
         }

          void tossObject(Rigidbody rigidBody) 
        {
                    Transform origin = trackedObj.origin ? trackedObj.origin : trackedObj.transform.parent ;
                   
                    if (origin != null)
                   {
                          // 轉換速度與轉速到世界空間
                          rigidBody.velocity=origin.TransformVector(device.velocity);
                          rigidBody.angularVelocity=origin.TransformVector(device.angularVelocity);
                    }
                    else 
                    {
                           rigidBody.velocity = device.velocity;
                           rigidBody.angularVelocity = device.angularVelocity;
                    }
        }
}

成果:

2017年3月15日 星期三

Week04 VIVE試用與架設、建立360像片

一熟悉VIVE架設流程及撰寫手把程式

1.登入steam


2.下載steamVR並import


3.製作一個plane並下在方prefab拉一個cameraRig


4.針對手把上不同按鍵按壓做輸出結果


二.全景相片當Unity場景

step1 拉入相片於Asset中,並將Texture選為Cubemap


step2 選取Apply


step3 建立材質Material


step4 將材質的shader改skybox/cubemap


step5  選取後畫面


step6  將360圖在拉至右方正方形中


step7 再將材質拉製場景即可拖拉相片


套用360影片相片教學 :
https://www.youtube.com/watch?v=c-MoLjcYmi8&feature=youtu.be
https://www.youtube.com/watch?v=fiucH5q_4VE


2017年3月8日 星期三

Week03 Leap Motion介紹及使用Hololens

一.講解Leap Motion及安裝流程

Leap Motion介紹
類似於滑鼠,其裝置支援利用手掌和手指動作來進行輸入,但無需手部接觸或者輕觸。它使用高階的動作感應專利技術進行人機互動。
「leap motion」的圖片搜尋結果
相關影片


安裝流程
1.首先搜尋Leap Motion Setup去網站下載


2.網站中有說明其功用及針對不同版本的載點


3.檔案下載方法(要先將Leap Motion插入主機)
4.下載完就可啟用,啟用畫面


Unity遊戲引擎載點安裝
1.點選下方軟件開發工具包中有符合Unity遊戲引擎的載點。

2.開啟Unity並匯入封包

3.之後開啟場景資料夾使用


二.試用Hololens功能

原理上主要是利用相關的傳感器獲取環境的深度信息,配合自身的加速度和角速度等,通過程序的實時運算,當物體發生移動時,深度信息也會跟著改變,而這些改變便建造了增量式地圖,進而完成空間的識別和定位。
計算機視覺原理的定位技術SLAM的數據採集有很多的方式,而Hololens則是利用景深攝像頭來獲取環境深度信息,另外一種則是採用雷射雷達掃描點雲數據的方式。

原文網址:https://kknews.cc/zh-tw/tech/8l2z6g.html

開始的使用介面,以及可根據不同手勢動作有不同功能。
「hololens基本功能」的圖片搜尋結果

1.可顯示出立體模型,並可拖拉出來顯示。
「hololens基本功能」的圖片搜尋結果


2.射擊遊戲,需事先掃描地形之後即可遊玩。

2017年3月6日 星期一

Week02 Google Cardboard

課堂一、動手組裝cardboard

1.組裝前

2.組裝後

3.觀看相關VR影片時畫面

相關圖片

課堂二. 介紹RICOH THETA

「RICOH THETA S」的圖片搜尋結果
功用可以拍攝360度的照片、影片


也可配合他設計的軟體 THETA
「THETA」的圖片搜尋結果
可將圖設計成可拖曳效果的全景圖

2017年2月22日 星期三

虛擬實境 Week01

VR相關設備介紹:


1.HTC Vive


HTC Vive是一款虛擬現實頭戴式顯示器,由宏達國際電子(HTC)和維爾福公司(Valve Corporation)共同開發,發布於2016年4月5日。 它也是維爾福公司的SteamVR項目的一部分。這款頭戴式顯示器的設計利用「房間規模」的技術,通過傳感器把一個房間變成三維空間,在虛擬世界中允許用戶自然地導航,能四處走動,並使用運動跟蹤的手持控制器來生動地操縱物體的能力,有精密的互動,交流,和沉浸式環境的體驗。
                                                      官網:https://www.vive.com/tw/


2.Hololens

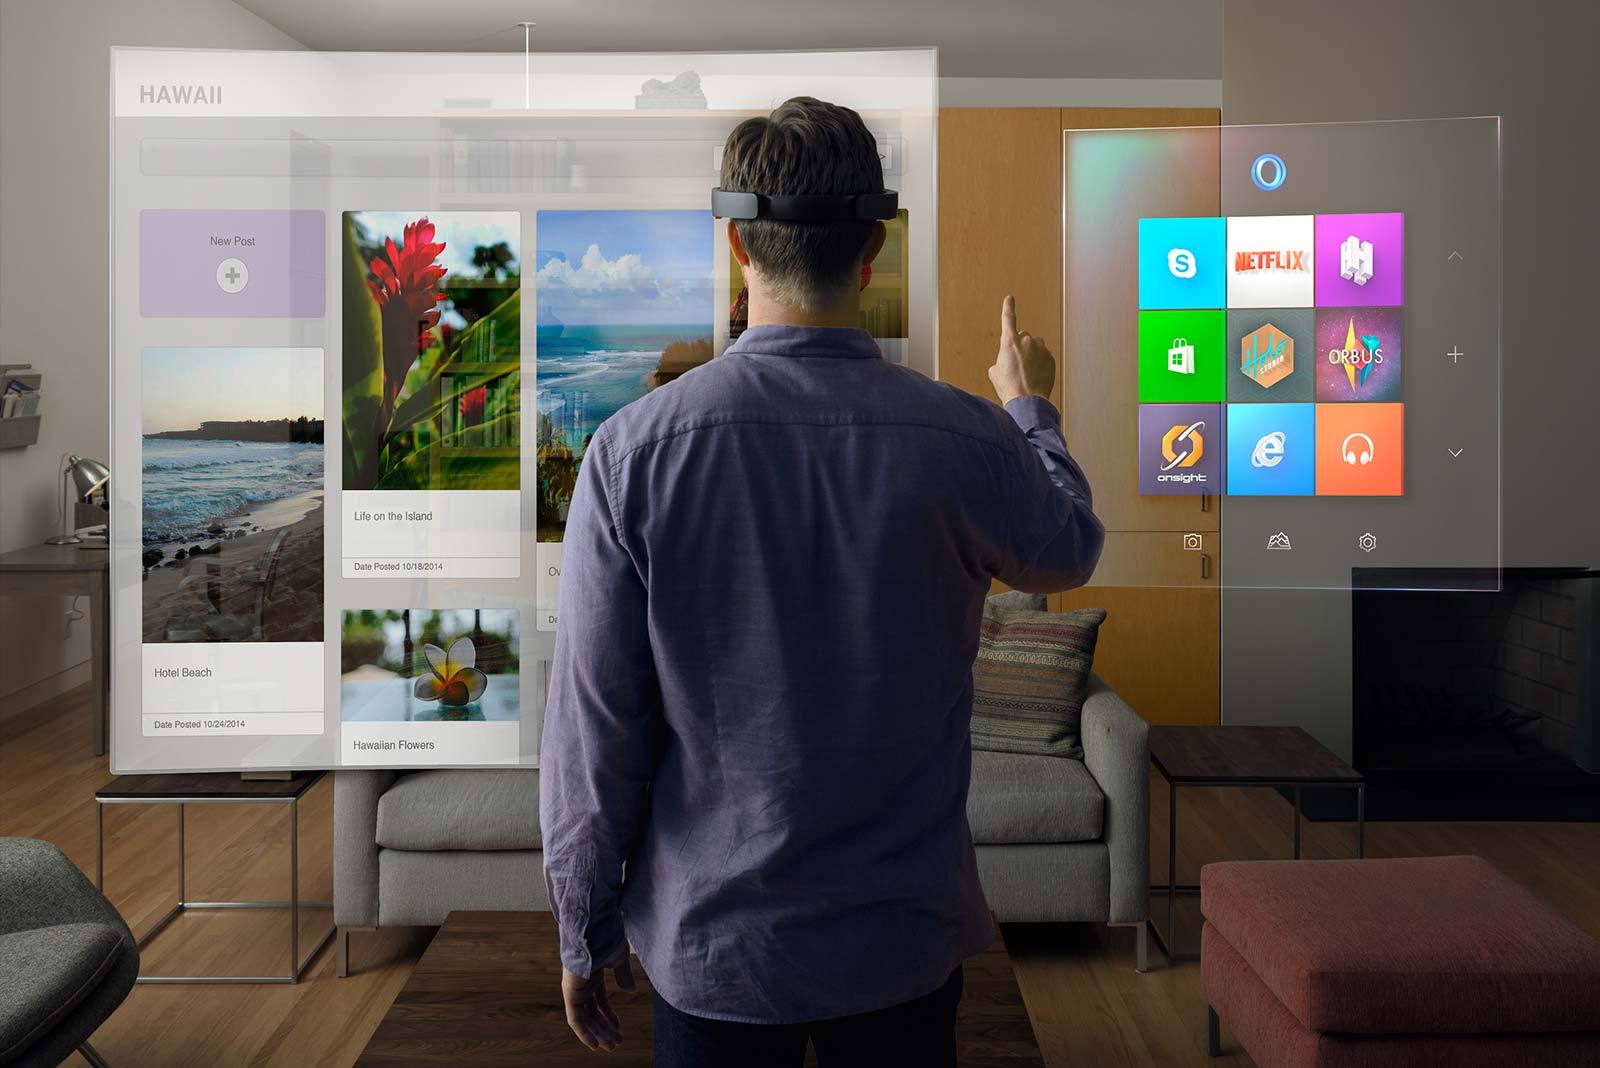
Microsoft HoloLens是Windows Holographic的使用主要設備。HoloLens是一個Windows 10的智能眼鏡產品。它採用先進的傳感器、高清晰度3D光學頭置式全角度透鏡顯示器以及環繞音效。它允許在增強現實中用戶界面可以與用戶透過眼神、語音和手勢互相交流。

資料網址:https://zh.wikipedia.org/wiki/Microsoft_HoloLens

3.Oculus

Oculus Rift是一個虛擬實境頭戴式顯示器,由Oculus VR所開發。Rift最初於Kickstarter集資。


資料網址:https://zh.wikipedia.org/wiki/Oculus_Rift

4.Sony VR


5.google cardboard

Google Cardboard 是一個以透鏡、磁鐵、魔鬼氈以及橡皮筋組合而成,可折疊的智慧型手機頭戴式顯示器,提供虛擬實境體驗。[1]有著3D顯示軟體的智慧型手機適合搭配此裝置,透鏡會讓使用者分別感知左影像和右影像,以建立一個3D影像。

資料網址:https://zh.wikipedia.org/wiki/Google_Cardboard